


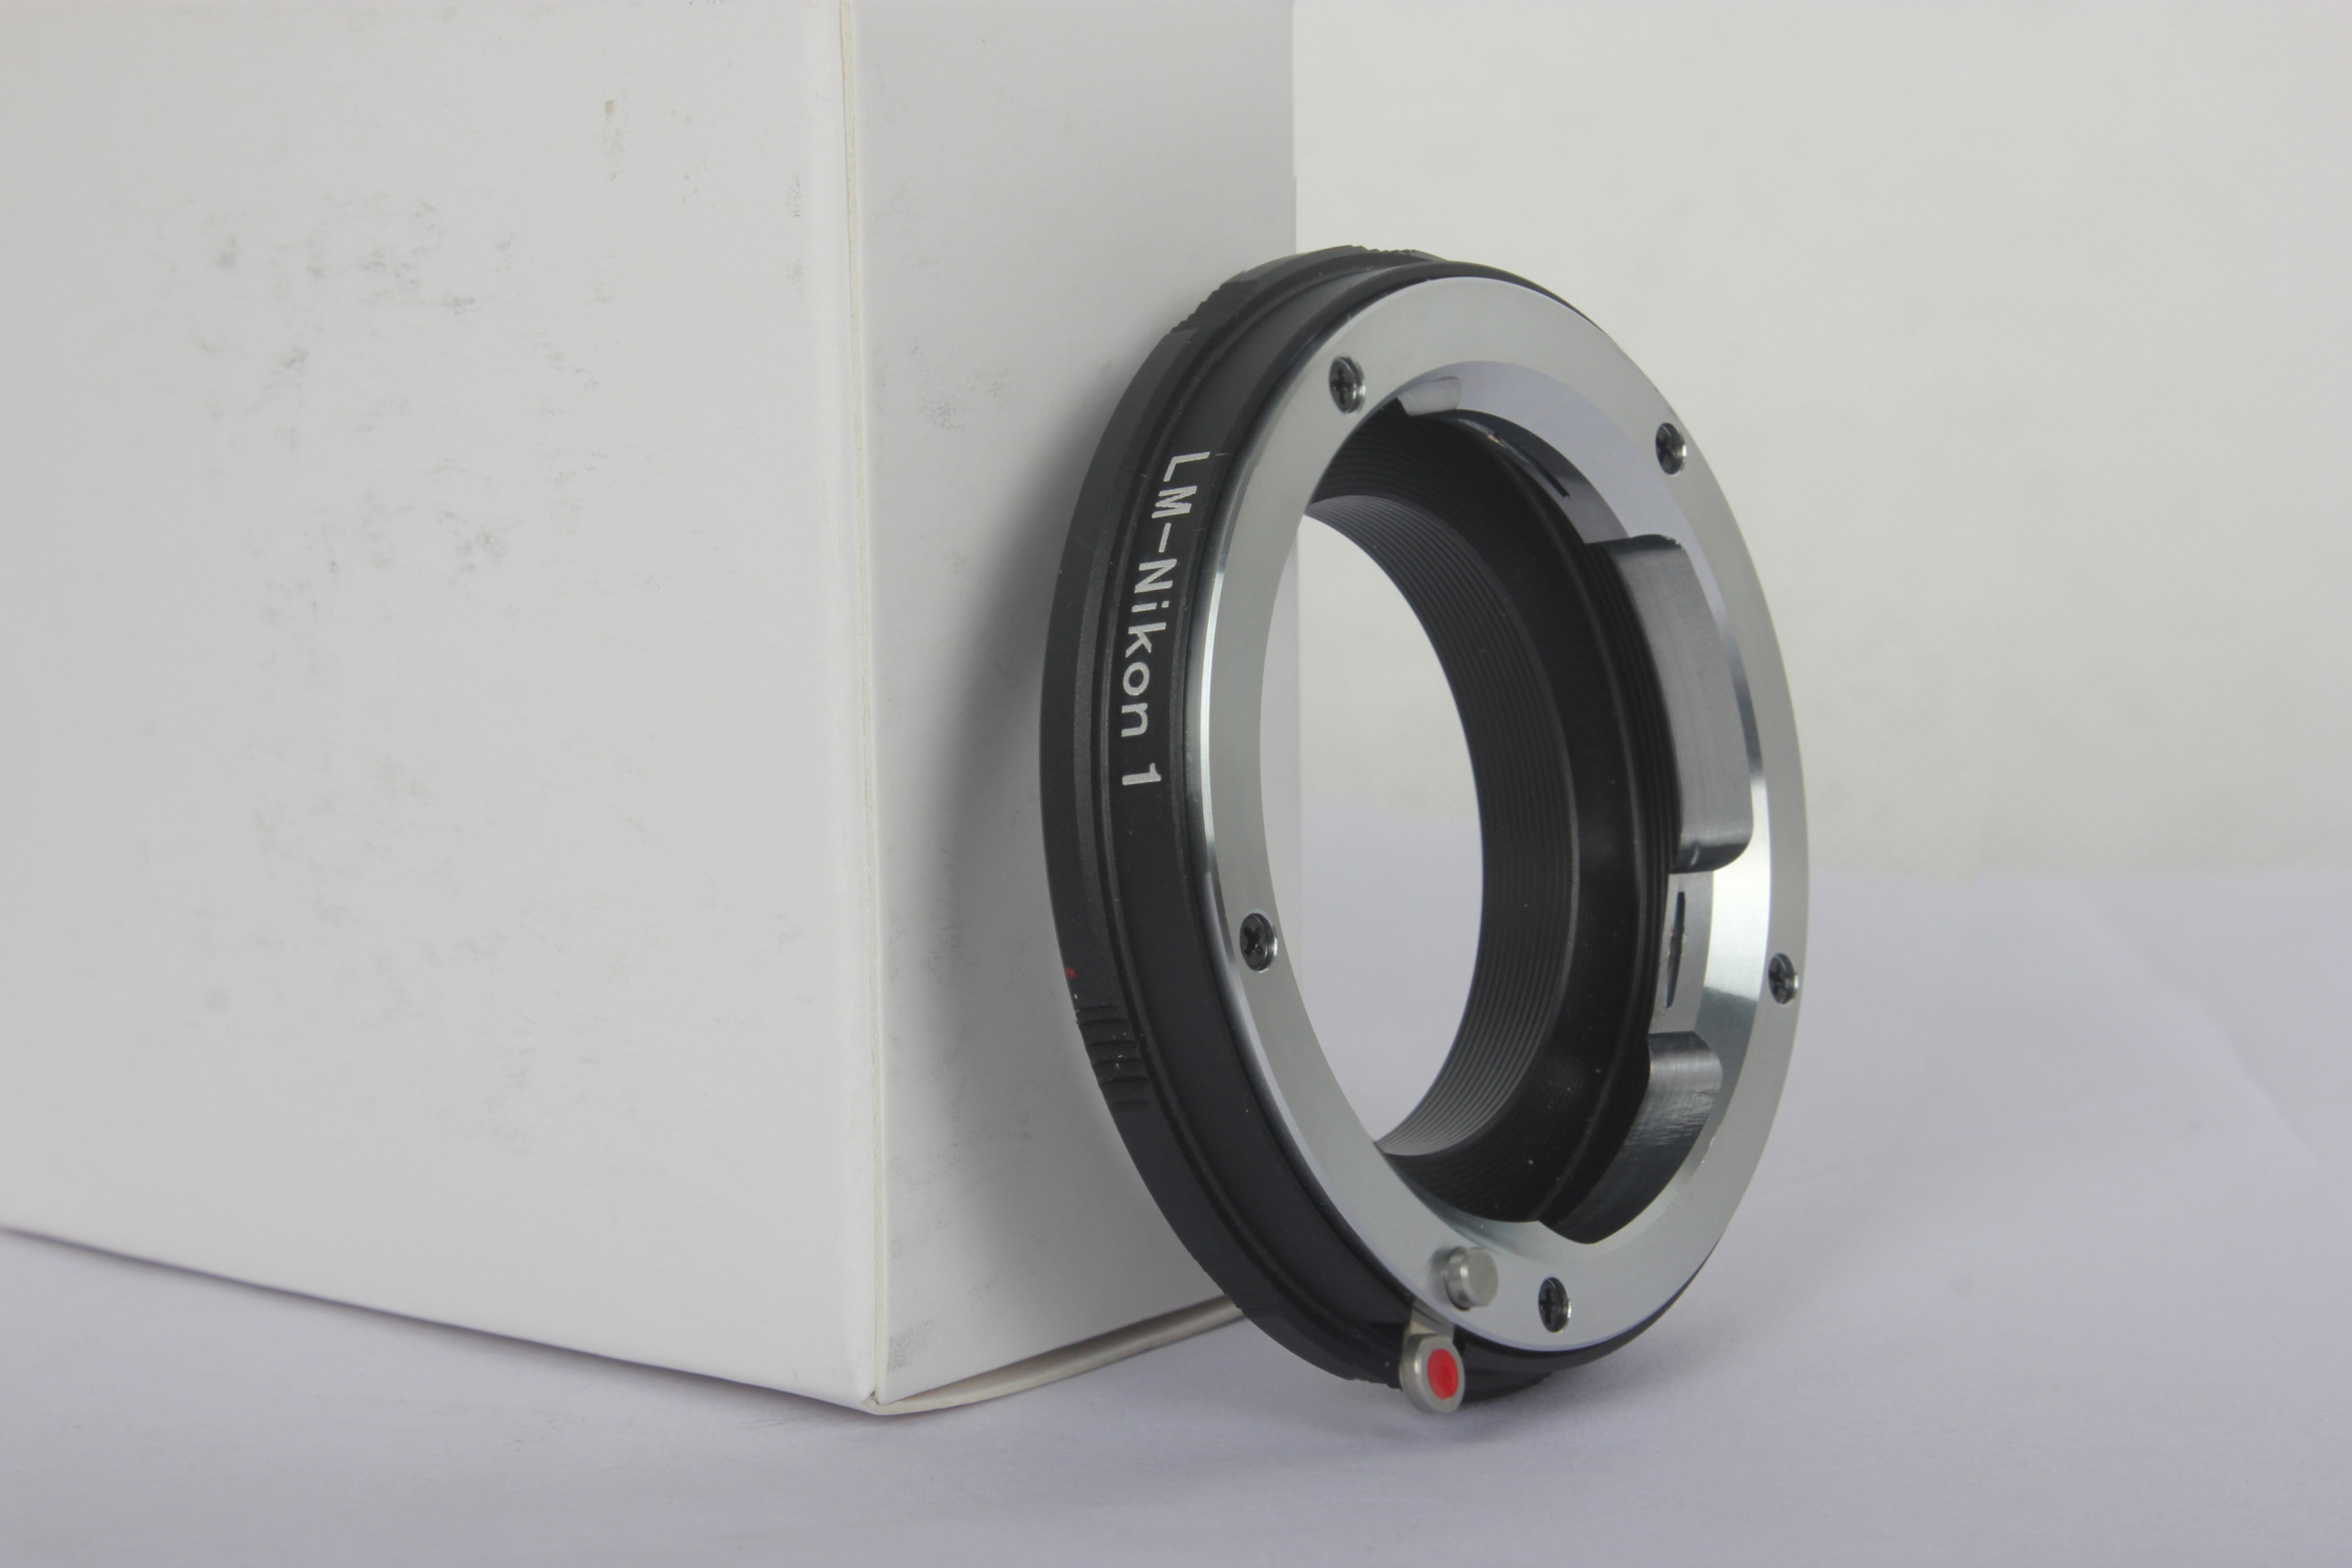


LM-Nikon1 Leica Lens for Nikon 1 Mount N1 J1 V1 Adapter Ring Aluminum Focusing Infinity
SKU:
200 in stock
$10.00
$10.00
$10.00
per item
Feature:
1. This adapter cam help you mount your leica R lens on Canon EOS adapter with EMF Confirm.
2 .EMF confirm LEICA R to CANON EOS adapter,fits LEICA R lenses to all CANON EOS camera bodies.
3. Allows focusing to infinity.
4 .Lens’ maximum aperture can be set on camera, ranging from F/1.1 to F/45.
5 .Lens’ focal length can be set on camera, ranging from 1mm to 65535mm.
6 .Focus micro-adjustment of the lens can be set on camera from 0-31 steps.
7 .Setting data is stored in the chip on the ring when powered off.
8. The ring enables camera viewfinder focus confirmation light and confirmation sound.
9 .Supports AV (Aperture Priority) and Manual Mode.
10 .Exposure aperture data can be recorded in EXIF.
WORK FOR
For Leica R lenses,
For Canon EOS 5D Mark III, 5D Mark II, 6D, 5D, 7D, 70D, 60D, 50D, 40D, 30D,
100D, 700D, 650D, 600D, 550D, 500D, 450D, 400D, 350D, 300D, 1100D, 1000D .
Not work with EOS 30, 30V & 33V and 1D series.
Package Components:
for Leica R LRLens to Canon EOS EF Adapter X 1
Retail Packing X 1
How to Use:
Programming setting:
1. Set the maximum aperture on lens.
2. Set the desired aperture on camera.
3. Focus and meter the object, when focus is achieved.
4. Set the lens aperture to the same desired aperture as the camera setting.
5. Press shutter button and take the picture.
or
1. Set the maximum aperture on lens.
2. Set the aperture value on camera to maximum lens aperture.
3. Focus and meter the object, when focus is achieved.
4. Set the lens aperture AND the camera aperture setting to the desired aperture.
5. Press shutter button and take the picture.
Shooting and not recording exposure aperture setting:
1. Set the aperture value on camera to the lens’ maximum aperture.
2. Set the camera to AV mode.
3. Set the desired aperture on lens.
4. Focus and meter the object and take the picture.
5. Exposure aperture data recorded in EXIF is the lens’ maximum aperture.
How to setting up the EMF chip:
1. Attach the adapter to the lens and attach the lens to the camera when camera is powered off. Power on the camera and set the camera to Manual mode. Set the camera in single shoot drive mode. Set the shutter speed to 1/60 second and aperture increment step to 1/3 EV.
Notice: Do not set the camera in continuous shooting mode to avoid misopertations
2. Turn the aperture setting dial and set the aperture value to F/64 and press shutter button once.
3. Turn the aperture dial and set the aperture value to F/57 and press shutter button once.
4. Turn the aperture dial and set the aperture value to F/64 and press shutter button once. The operation combination of F/64-shutter button+F57-shutter button +F/64-shutter button will activate the setting mode of the ring.
5. Turn the aperture dial, if the maximum aperture value can be set to F/1.0, your ring is now in setting mode. And you can begin to set the focal length, maximum aperture value and focus micro adjustment of your lens.
